Bracket Orders for Beginners: How to Set a Take-Profit + Stop-Loss Like a Pro (2026)
Most beginners enter a trade and then figure out the exit later. Bracket orders flip that. Here's how to lock in your profit target and your escape hatch at the exact same time — so your emotions never get a vote.
I'll be honest — the first time someone told me to use bracket orders, I nodded like I totally knew what they were talking about and then immediately Googled it afterward. I had been placing market orders, occasionally slapping on a stop-loss after the fact, and praying my take-profit instincts were better than they actually were. They weren't.
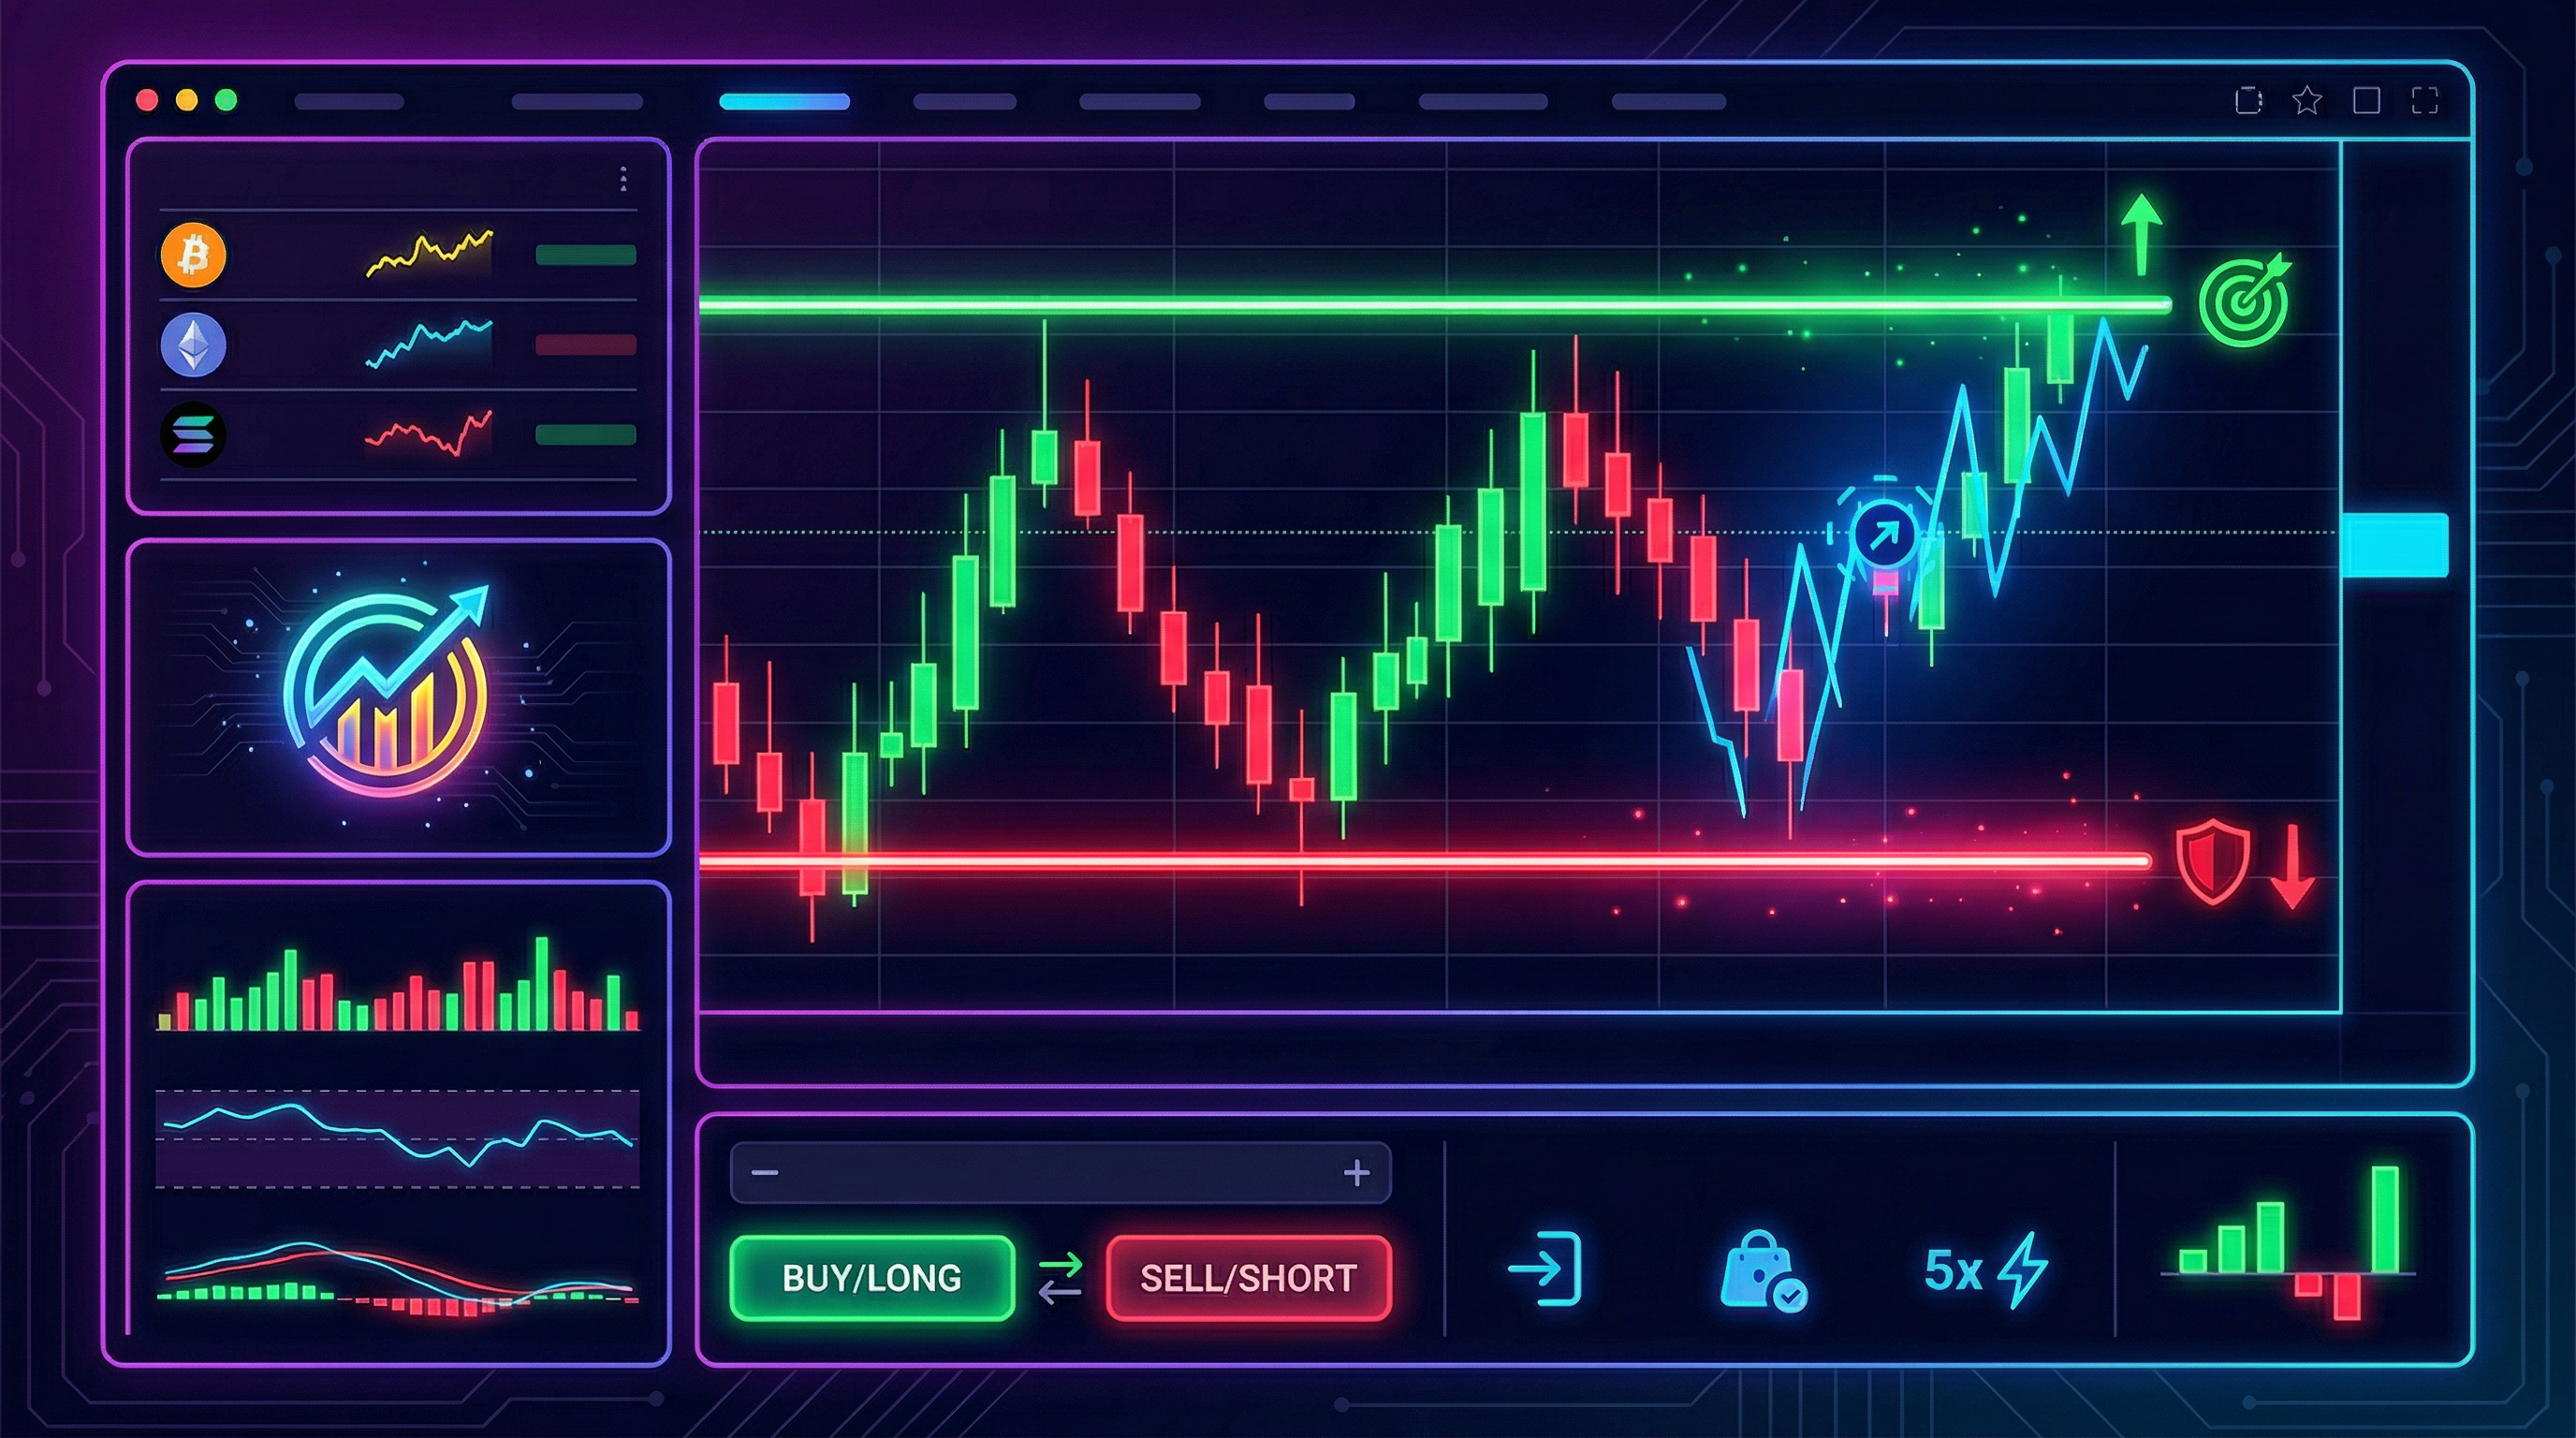
Bracket orders changed how I think about every single trade. Instead of entering a position and then figuring out where to exit, you define both exits — your profit target and your maximum loss — before you click buy. The platform handles the rest automatically. One side fills, the other gets canceled. You don't have to babysit the chart. You don't have to make a panicked decision mid-move. The bracket does it for you.
This guide covers everything: what bracket orders actually are, how the OCO (one-cancels-other) mechanic works under the hood, step-by-step setup on common platforms, how to size your position so the math actually makes sense, real examples with concrete numbers, the mistakes I see beginners make constantly, and — importantly — when bracket orders are the wrong tool for the job. If you want a platform that makes bracket order setup intuitive and tracks how your risk-management decisions play out over time, Traderise is worth a look.
1) What Is a Bracket Order, Actually?
A bracket order is a single instruction that places three orders simultaneously: the primary order to enter your position, a take-profit (TP) order above your entry (for long positions), and a stop-loss (SL) order below your entry. The take-profit and stop-loss "bracket" your entry price — hence the name.
The beauty is in what happens next. As soon as one of the two exit orders triggers — either your profit target is hit or your stop-loss fires — the other one is automatically canceled. This is called OCO behavior, which stands for "One Cancels the Other." You never end up with a dangling open order on the wrong side of a position you've already exited.
The anatomy of a bracket order
Let's say you're buying 100 shares of a stock at $50. You want to take profits at $55 and you're willing to lose no more than $1.50 per share if it goes against you. A bracket order would place:
- Primary order: Buy 100 shares at $50 (market or limit)
- Take-profit order: Sell 100 shares at $55 (limit order, above entry)
- Stop-loss order: Sell 100 shares at $48.50 (stop order, below entry)
If the stock climbs to $55, the take-profit fires, you're out with a $500 gain, and the stop-loss order at $48.50 is automatically canceled. If it drops to $48.50 instead, the stop-loss fires, you're out with a $150 loss, and the take-profit order at $55 is automatically canceled. Clean. Efficient. No leftover orders cluttering your book.
Why this matters more than you think
Before bracket orders, you had to either: (a) watch the trade the entire time, or (b) place a stop-loss and then manually add a take-profit later, and then remember to cancel whichever one didn't fill. Option (a) is exhausting. Option (b) is how you end up with open orders you forgot about that suddenly execute when you're not paying attention.
Bracket orders solve both problems. They're especially powerful for anyone who trades while also having, you know, a life — which is most of us.
2) How OCO (One-Cancels-Other) Actually Works
OCO is the mechanism that makes bracket orders work as a single coherent unit rather than two independent orders that could both theoretically trigger. Understanding how it works under the hood helps you use it more confidently.
The trigger types you need to know
On most platforms that support bracket orders — including Kraken's derivatives platform — trigger-based orders like take-profits and stop-losses can be set to trigger based on different price signals:
- Mark Price: The "fair value" price calculated by the exchange, smoothed to reduce manipulation. This is typically the safest trigger for stop-losses because it's harder for a short-term wick to accidentally hit your stop.
- Last Price: The actual last executed trade price. More reactive, but vulnerable to momentary spikes (wicks) that don't reflect the actual market trend.
- Index Price: An average across multiple exchanges. Most stable, least reactive to single-exchange events.
For most beginners, Mark Price is the sensible default for stop-losses. It prevents your stop from being hit by a quick wick that reverses immediately — a very common and frustrating experience when you're first starting out.
Partial fills and OCO
Here's a detail that trips people up: what if your primary order only partially fills? According to Kraken's bracket order documentation, the TP/SL quantity automatically adjusts to match the actual fill size of the primary order. So if you placed a limit order for 200 shares and only 150 filled, your take-profit and stop-loss will be set for 150 shares — not the full 200. Your position is always protected, even with partial fills. That's a thoughtful design detail that matters in practice.
Set your stop-loss trigger to Mark Price, not Last Price. Last Price triggers get hit by wicks — those brief, meaningless price spikes that reverse instantly. If you've ever been stopped out of a trade that immediately bounced back in your direction, a Last Price trigger on your stop was probably why. Mark Price is more reliable for exits you actually mean.
3) Step-by-Step: Setting Up a Bracket Order on Common Platforms
The interface varies by platform, but the concept is the same everywhere. Here's how to actually do it.
On Kraken (futures/derivatives)
- Go to a Kraken Pro futures market and select Market or Limit as your order type.
- Look for a dropdown on the order form — you'll see options for Simple or Advanced mode. Select Advanced to access TP/SL configuration.
- Enter your primary order details (direction, size, price if limit).
- In the TP/SL section, enter your take-profit price and your stop-loss price. Choose your trigger type (Mark Price, Last Price, or Index Price) for each.
- Submit the order. The platform places all three orders as a linked bracket unit. When one exit triggers, the other cancels automatically.
Note: Bracket orders cannot be added if your primary order has "reduce only" enabled — that's a platform restriction worth knowing upfront.
On most stock brokerages (Fidelity, TD Ameritrade/Schwab, IBKR)
- Open the order ticket for the stock you want to buy.
- Look for an option like "Bracket Order," "Advanced Order," or "Conditional Order" — the labeling varies. On thinkorswim (TD Ameritrade/Schwab), it's under the "Order Type" dropdown as "Bracket."
- Set your entry order (market or limit, shares, price).
- Below the primary order, you'll see fields for "Take Profit Price" and "Stop Price" (or "Stop-Loss Price"). Fill both in.
- Review the summary — it should show three linked orders. Submit.
Interactive Brokers (IBKR) calls these "Bracket Orders" explicitly and has a one-click option to attach TP/SL to any order directly from their order ticket. It's one of the cleanest implementations if you're using a more advanced platform.
On Traderise
Traderise integrates bracket order setup with their risk dashboard, so you can define your entry, take-profit, and stop-loss while simultaneously seeing how the position fits into your portfolio-level risk. This is genuinely useful when you're trying to maintain the 1% rule across multiple open trades — the platform shows you exactly how much total account risk you're carrying before you confirm the order.
4) Position Sizing With the 1% Rule (The Math That Makes Brackets Actually Work)
A bracket order without proper position sizing is just a fancy way to still blow up your account. The stop-loss only saves you if the position size is right relative to your account. This is where the 1% rule comes in — and it's not optional for beginners.
What the 1% rule actually means
The 1% rule says you should never risk more than 1% of your total account on any single trade. Risk, in this context, means the maximum dollar amount you could lose if your stop-loss is hit. It does not mean you only invest 1% of your account — it means your stop-loss is placed such that getting stopped out costs you no more than 1% of your total capital.
According to position sizing research from Tradezella, the 1% rule is specifically recommended when you're newer than 18 months into trading, when the VIX is above 20 (volatile market), when you're in a drawdown (already down more than 5% from your account high), or when you're testing a new strategy with fewer than 30 trades of data. That covers basically every beginner trader who's ever existed.
The position sizing formula
Here's the formula, and it's simpler than it looks:
Position Size = Risk Per Trade ($) ÷ (Entry Price − Stop-Loss Price)
The denominator is just the dollar distance between your entry and your stop. The numerator is the maximum dollar amount you're willing to lose on this trade (1% of your account).
Real examples with actual numbers
Let's run through a few scenarios using data from Tradezella's position size calculator guide:
Example 1 — $10,000 account, stock trade:
Account size: $10,000. 1% risk = $100.
You want to buy a stock at $50. Your stop-loss is at $48.50 (distance: $1.50).
Position size: $100 ÷ $1.50 = 66 shares.
Total position value: 66 × $50 = $3,300.
If stopped out: 66 × $1.50 = $99 lost (just under 1%).
Example 2 — $25,000 account, swing trade:
Account size: $25,000. 1% risk = $250.
Buying a $100 stock with a $5 stop (entry $100, stop $95).
Position size: $250 ÷ $5 = 50 shares.
Total position value: 50 × $100 = $5,000.
If stopped out: 50 × $5 = $250 lost (exactly 1%).
Example 3 — $5,000 account, volatile stock:
Account size: $5,000. 1% risk = $50.
Buying at $30, stop at $28 (distance: $2).
Position size: $50 ÷ $2 = 25 shares.
Total position value: 25 × $30 = $750.
If stopped out: 25 × $2 = $50 lost (exactly 1%).
Notice how in all three examples, the position size changes based on where you place your stop — not on some arbitrary "I'll just buy 100 shares" logic. The stop-loss placement drives the math, not the other way around.
How bracket orders + position sizing work together
Here's why these two concepts are best used together: once you calculate your position size using the 1% formula, you already know exactly where your stop-loss needs to go. That stop-loss price becomes the SL leg of your bracket. Your take-profit leg is typically set using a risk-reward ratio — a minimum of 1:2 (meaning if you're risking $100, you're targeting at least $200 in profit). So your bracket might look like:
- Entry: $50
- Stop-loss: $48.50 (1.5% below entry, risking $100 on 66 shares)
- Take-profit: $53 (2× the risk distance above entry, targeting $200)
The bracket order submits all three simultaneously. Your risk is mathematically defined before you ever click buy.
Calculate and track your bracket orders in one place
Use Traderise to size your positions, set bracket orders, and track every trade's risk-reward in your journal. The platform connects your entry logic to your exit strategy so you can actually review whether your brackets are working.
Try Traderise Free →5) Risk-Reward Ratios: How to Set Your Take-Profit Like You Mean It
Your stop-loss protects you from losing too much. Your take-profit is what makes the whole system profitable over time — but only if it's set with intention and not just wishful thinking.
The minimum 1:2 risk-reward standard
If you're risking $100 on a trade, you should be targeting at least $200. This means even if you only win 40% of your trades, you're still net profitable: 4 wins × $200 = $800 profit, 6 losses × $100 = $600 loss, net $200 ahead. That's a positive expectancy system, even with a below-50% win rate.
Many experienced traders use 1:3 or higher as their standard — meaning if the setup doesn't offer at least triple the potential reward relative to the risk, it's not worth taking. This discipline is what allows them to be wrong more often than they're right and still grow their accounts.
Where to actually place your take-profit
Your take-profit shouldn't be a random number. It should be anchored to something real on the chart:
- Next significant resistance level — a price area where the stock has struggled to break through before. Don't set your TP above a major resistance zone; set it just below it so you're not waiting for a breakout that might not happen.
- Previous swing high — a recent price peak is a natural profit target because sellers who bought near that high are likely to sell again when price returns there.
- Round numbers — stocks tend to attract attention (and selling pressure) near round numbers like $50, $100, $200. These make reasonable TP targets for shorter-term trades.
The key point: your TP placement and your stop-loss placement together determine whether a trade is worth taking. If the chart only offers a 1:1 setup, skip it. Wait for the 1:2 or better.
6) Common Bracket Order Mistakes That Cost Beginners Real Money
Mistake #1: Setting your stop-loss based on what you can afford to lose, not where the trade is actually invalidated
This is the biggest one. A lot of beginners say "I'll set my stop at 3% below entry" regardless of what's on the chart. But if there's a major support level 5% below entry, your 3% stop will get hit by normal volatility before the trade even gets a chance to play out. Your stop should go below the level that, if broken, tells you your trade thesis was wrong. That's a technical decision, not a financial one.
Mistake #2: Setting a take-profit that's too close to the entry
If your TP is only $0.50 away and your stop is $1.50 away, you have a 1:0.33 risk-reward ratio. You need to win 75% of trades just to break even after commissions. Beginners often set tight TPs because they're afraid of giving back gains — but this creates a system that's mathematically doomed even with a high win rate.
Mistake #3: Moving your stop-loss after entering the trade
You set a stop at $48.50. The stock drops to $49. You panic and move the stop to $47 because you "still believe in the trade." You've just abandoned your risk management in real time. If the original stop was set correctly, let it do its job. Moving stops in the direction of a losing trade is how small losses become account-damaging losses.
Mistake #4: Forgetting about slippage on stop-losses
A stop-loss order doesn't guarantee you'll exit at exactly your stop price. In fast-moving markets, your stop might trigger at $48.50 but actually fill at $48.10 because the price moved past it before the order executed. This is slippage. For most stock trades it's minimal, but in volatile markets or thin stocks it can be meaningful. Account for it in your risk math — especially when your 1% calculation is already tight.
Mistake #5: Using bracket orders in illiquid markets
Bracket orders work best in liquid markets where your orders actually fill near their stated prices. In thinly traded stocks or low-volume crypto pairs, your stop-loss might trigger and fill far from where you expected, and your take-profit might not find a buyer at exactly your target price. Use bracket orders in markets where there's real volume.
Your stop-loss is a technical decision, not a financial one. Don't ask "how much can I afford to lose?" and work backward to a stop price. Ask "where is my trade thesis wrong?" and set your stop there. Then use position sizing to ensure that level of loss is within your 1% risk budget. That's the order of operations that keeps accounts alive.
7) When NOT to Use Bracket Orders
Bracket orders are powerful, but they're not always the right tool. Here's when to skip them or adapt them.
Scaling in and out of positions
If your strategy involves adding to a winning position (scaling in) or taking partial profits at multiple levels (scaling out), a single bracket order isn't the right structure. You'd need separate orders at each scale level, and most standard bracket implementations don't support partial fills easily. Platforms like Traderise give you more flexibility to manage complex exit strategies, but you'll likely manage scaling manually rather than through a single bracket.
Very long-term investing
If you're buying an index fund or ETF to hold for five years, bracket orders are overkill. They're designed for active trading where defined entry and exit points are the core of the strategy. For long-term buy-and-hold investing, a simple stop-loss (or no stop at all, with a conviction-based hold) is more appropriate.
During major news events and earnings
Pre-earnings, it's common to see wide price swings that can blow through your stop-loss and then reverse — what traders call a "fakeout." If you know a major catalyst (earnings, Fed announcement, macro data release) is happening soon, your stop might get triggered by the volatility spike even if the underlying direction is still in your favor. In these situations, it often makes more sense to either close the position before the event or wait until after to re-enter with a fresh bracket.
When you haven't defined your trade thesis
A bracket order is a tool to execute a plan. If you don't have a clear plan — if you bought because a ticker was trending on social media or someone in a Discord said it was going to moon — a bracket order just adds structure to a thesis-free trade. The stop-loss might keep your loss small, but the problem is the decision to enter in the first place. Brackets don't fix that.
8) A Full Example: Building a Bracket Order From Start to Finish
Let's walk through a complete trade setup using everything from this article.
Scenario: You have a $15,000 trading account. You've identified a stock trading at $75 that looks like it's about to break out above a resistance level at $76. There's support at $73 — if price breaks below $73, your trade thesis is wrong. Your target is $82, the next resistance zone. Let's build the bracket.
Step 1 — Calculate max risk:
1% of $15,000 = $150 maximum risk on this trade.
Step 2 — Set the stop-loss:
Stop goes below $73 support — let's say $72.50 to give a small buffer below the level. Distance from entry ($75) to stop ($72.50) = $2.50.
Step 3 — Calculate position size:
$150 ÷ $2.50 = 60 shares. Total position value: 60 × $75 = $4,500.
Step 4 — Check the risk-reward:
Take-profit target: $82. Distance from entry ($75) to TP ($82) = $7.00.
Risk: $2.50 per share ($150 total). Reward: $7.00 per share ($420 total).
Risk-reward ratio: 1:2.8. That's solid — worth taking.
Step 5 — Enter the bracket:
Primary order: Buy 60 shares at $75 (limit order).
Take-profit: Sell 60 shares at $82 (limit, triggers at $82).
Stop-loss: Sell 60 shares at $72.50 (stop, trigger on Mark Price).
Submit. Your bracket is live.
What happens next: If $82 is hit, you collect $420 in profit and the $72.50 stop cancels. If $72.50 is hit first, you lose $150 (1% of account) and the $82 take-profit cancels. Either way, you don't need to babysit it.
That's bracket orders working exactly as intended. Defined risk, defined reward, automated execution, no emotional interference. If you want to practice setting these up in a paper trading environment before going live with real money, Traderise lets you run full bracket order simulations so the mechanics feel natural before any real capital is at stake.
Ready to trade with real risk management?
Set up your first bracket order on Traderise. Practice in paper mode, review your risk-reward across trades, and build the kind of consistent process that keeps your account growing even when individual trades don't go your way.
Start Trading on Traderise →Sources: Kraken Support — Take Profit / Stop Loss (Bracket) Orders; Tradezella — Position Size Calculator: How to Size Every Trade Correctly (2026).